[2024] The latest information on drone national certifications and licenses! We also show you how to get certified!
ryo
HENSHIN Labo


Time-lapse photography shortens time and visualizes the unseen world. Its appeal lies in its ability to instantly transform everyday scenery and allow us to see the familiar world from a new perspective.
In this article, we will explain in detail the basic methods of time-lapse photography, as well as tips on how to take a good shot.
Why don’t you step into the world of time-lapse photography and capture everyday scenery from a new perspective?
Time-lapse photography is a visual technique that expresses the passage of time at high speed by taking a series of photos at regular time intervals (intervals) and playing them back continuously at high speed.
This method allows us to visually capture slowly changing landscapes and movements in a short period of time.
For example, it is possible to effectively depict changes over time, such as a landscape from sunrise to sunset, the blooming of flowers, or the construction of a building.
Interval photography, like time-lapse photography, is a technique for taking a series of pictures at regular time intervals. However, interval photography differs in the subsequent processing.
In interval photography, the photos taken are generally used as individual still images.
In time-lapse photography, on the other hand, the photos taken are combined as a single movie to express the flow of time at high speed.
Therefore, time-lapse photography is suitable for visually expressing the passage of time.
Time-lapse photography can create unique images by visually representing the passage of time. Here we will explain the features and advantages of time-lapse photography.
The greatest feature of time-lapse photography is the ability to visually express movement and change over a long period of time in a short period of time.
For example, the movement of clouds throughout the day, seasonal changes, construction of buildings, and other phenomena that would normally require time to observe can be seen in a few minutes or seconds.
While a still image can only capture a momentary scene or situation, time-lapse photography can capture the flow of time itself as an image.
This makes it possible to visually express minute changes that occur over time, as well as major changes that occur over a long period of time.
Time-lapse photography can be used effectively in a variety of scenes that change over time. Below are some particularly recommended scenes.
Changes in the sky, such as the flow of clouds and changes in sky color from sunrise to sunset, can be beautifully expressed by time-lapse photography.
In particular, since clouds move at a slow speed, time-lapse photography can visually capture these changes.
The process of food preparation is also interesting when expressed through time-lapse photography. The process of cutting ingredients, cooking, and completing the dish can be viewed at high speed, further enhancing the appeal of the dish.
By taking time-lapse photographs of the production process of a painting or illustration, the process of taking a work from scratch to completion can be visually expressed.
This allows you to visually express the process of completing a work of art, as well as the detailed changes that occur during the process.
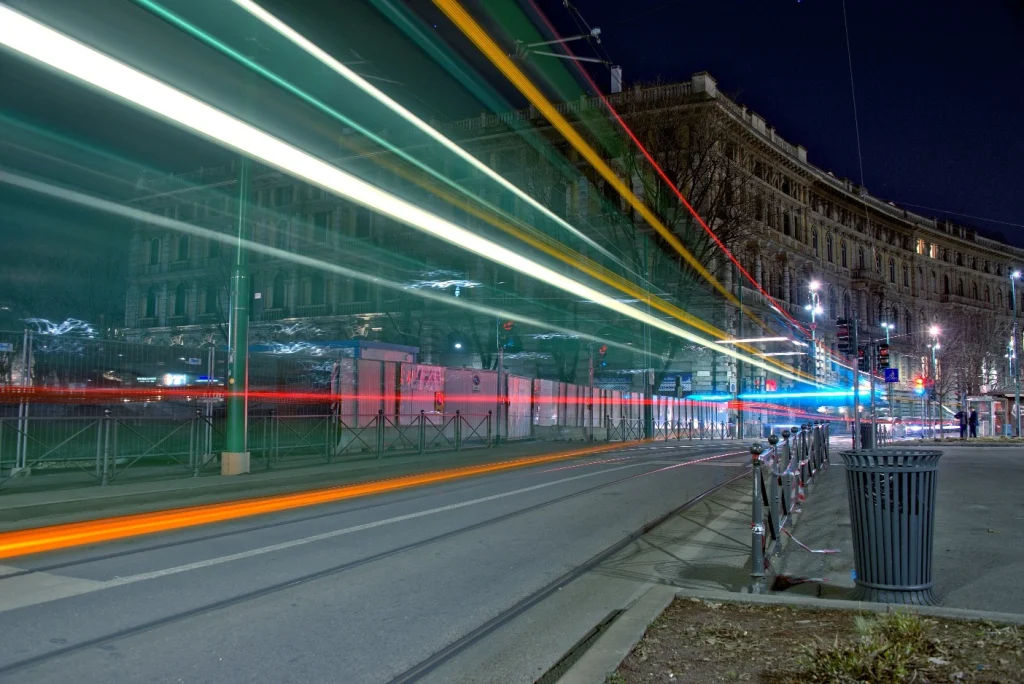
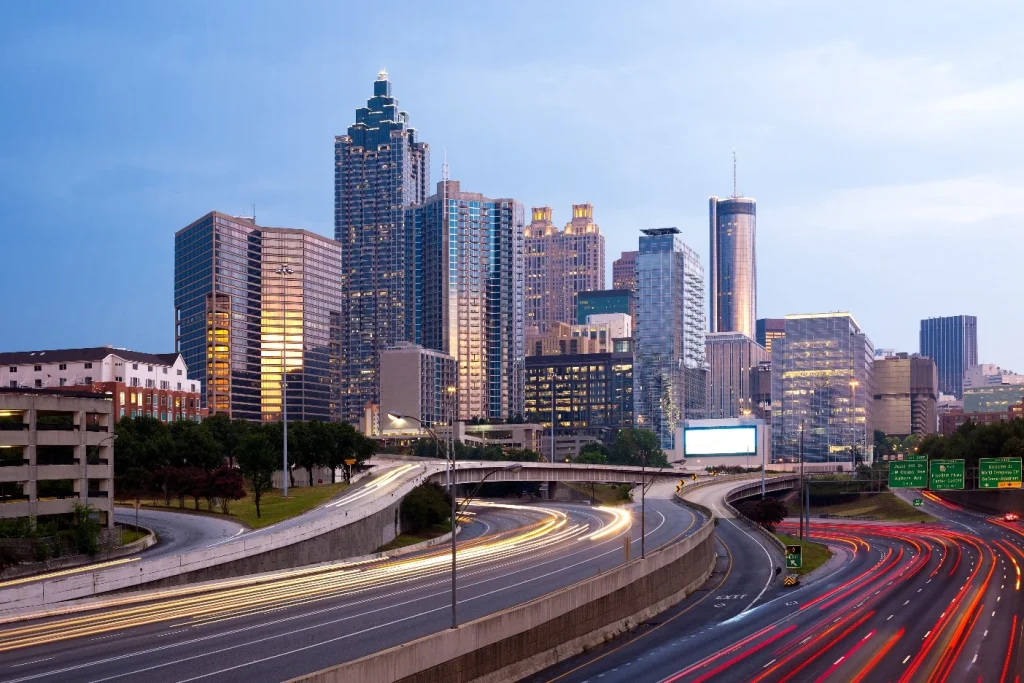
Time-lapse photography of cityscapes and people’s movements can also transform everyday scenes into fresh visual experiences. In particular, by viewing slow-moving people and traffic at high speed, you can feel the vibrancy of the city and the flow of daily life.
Time-lapse photography can be done using a variety of devices. Below are the shooting methods for each of the main devices.
Time-lapse photography using this method produces images with the shooting interval automatically adjusted.
However, care should be taken when taking long shots to ensure battery drain and data capacity. It is also important to keep the iPhone fixed and motionless during filming.
Some models of Android smartphones have a time-lapse function in the standard camera application, but if not, you can download an application from the Google Play Store that supports time-lapse photography.
Recommended apps are listed below.

Laps It is an application that allows you to make time-lapse videos on your Android device. It is easy to use and allows you to create high quality videos. You can also adjust the interval between shots and make detailed settings such as white balance.

Framelaps is an application that makes it easy to shoot high-quality time-lapse videos on your Android device. Of course, you can adjust the interval between shots and set the video quality.
The application settings include shooting interval and playback speed. Select the appropriate shooting interval according to the scene to be shot and the flow of time you wish to express. See the next section for details.
Using an SLR camera allows for higher quality time-lapse photography.
Some SLR cameras have a time-lapse function, but if not, an external device called an interval timer can be used to take pictures at regular intervals.
A major advantage of SLR cameras is the ability to change lenses to obtain different perspectives and effects. In addition, the still images taken can later be edited into a time-lapse video using video editing software.
Specific shooting procedures regarding settings and specific techniques for shooting are as follows.
SLR cameras have many settings, but for time-lapse photography, it is important to set the shutter speed, ISO, and aperture (aperture) appropriately.
For shutter speed, a long shutter speed (e.g., 1/30 sec.) is generally used. This can create “motion blur,” where objects in motion show blurred motion.
ISO should be as low as possible (e.g., 100 or 200) to avoid noise. However, in darker environments you may need to increase the ISO.
Aperture controls the size of the lens aperture and determines the depth of the image (the area in focus). Typically, an intermediate aperture value (e.g., f/8 or f/11) is used so that the entire image appears clear.
It is also important to set the white balance to manual to prevent color changes during shooting.
Time-lapse photography requires taking pictures at regular intervals. This is set using the camera’s built-in timer or an external interval timer. Select the appropriate shooting interval depending on the scene to be photographed and the flow of time you wish to express.
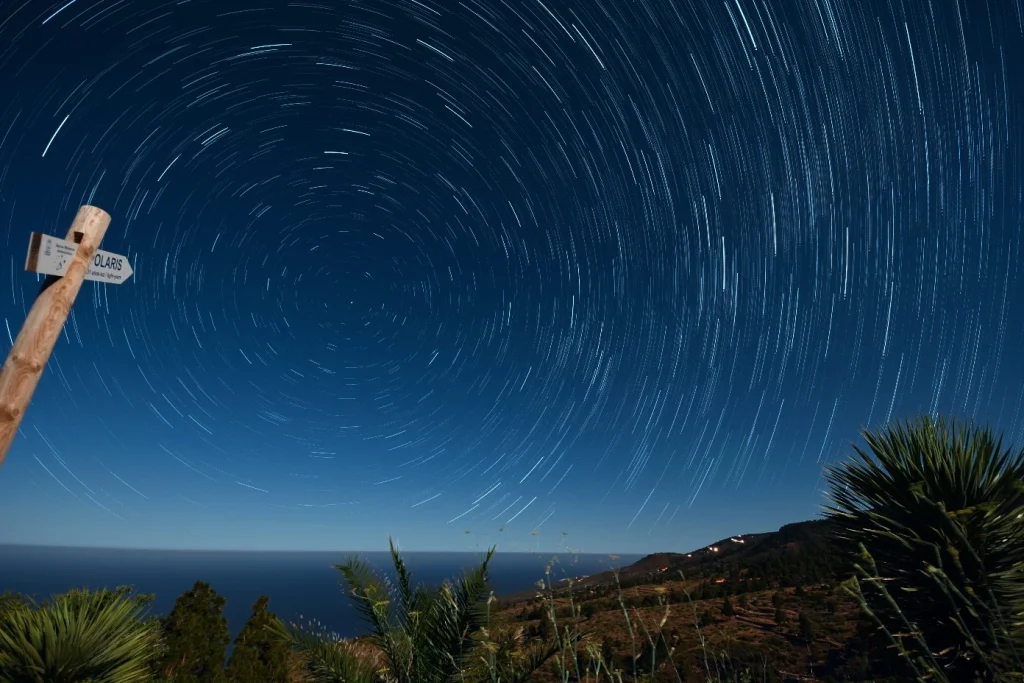
Examples of appropriate shooting intervals are 10 – 20 seconds for cloud movement, 15 – 30 seconds for starry skies and sunrise/sunset, 1 – 3 seconds for construction sites and people movement, and 5 – 15 minutes for plant growth.
Secure the camera with a tripod or similar device and begin shooting. Be careful not to move the camera at this time.
The still images taken are edited into a time-lapse video using video editing software. At this time, image color correction, cropping, and other edits may be performed.
The above procedure allows you to take time-lapse photographs using an SLR camera.
For information on how to edit the data you have taken, please refer to the following.
The still images you have taken are imported into the computer. At this time, to maintain the order of the images taken, it is necessary to make the file names sequentially numbered, for example.
Use video editing software such as Adobe Premiere Pro or Final Cut Pro to convert still images into video. At this time, set the number of frames per image to be displayed (frame rate). The higher the frame rate, the smoother the video will be, but be aware that depending on the number of images taken, the video may be in fast forward.
After converting to video, you can edit the video as needed. For example, you can adjust the color of the image, crop it, add effects, etc.
After editing is complete, export (output) the video. At this time, set the resolution, compression ratio, etc. for the output video.
The above steps can be used to create a time-lapse video using an SLR camera.
Time-lapse photography is also possible with digital cameras. Some digital cameras are equipped with a time-lapse function.
The advantages of digital cameras are that they are lighter and easier to carry than SLR cameras, and their simple operation makes them easier for beginners to use. After shooting, time-lapse videos are created using built-in functions or dedicated video editing software.
The editing method is described in the previous section, “How to Edit Filmed Data.
In this way, time-lapse videos can be produced using a digital camera.
Although time-lapse photography may seem simple at first glance, there are a few precautions that must be taken to create great images. Please be aware of the precautions introduced here and try to shoot with them in mind.
In time-lapse photography, pictures are taken at regular intervals from a fixed location.
Therefore, it is important to hold the camera firmly in place so that it does not move. A tripod can be used to stabilize the camera for longer periods of time.
Since time-lapse photography can take a long time, it is important to check the camera’s battery and data capacity in advance, and recharge and back up data as needed.
Specifically, a typical smartphone can shoot time-lapse photography for approximately 3-4 hours on a full charge, generating several GB of data in that time.
In the case of an SLR or digital camera, it is possible to shoot for several hours to dozens of hours, depending on battery life and memory card capacity.
However, if the battery runs out of power or the data capacity fills up during shooting, the shooting will be interrupted.
The distinctive effect of time-lapse photography depends greatly on the shooting interval (interval).
For example, when capturing the movement of clouds, a short interval (e.g., every 5 seconds) makes the clouds appear to be moving quickly.
On the other hand, if you shoot at longer intervals (e.g., every 30 seconds), the clouds will appear to move more slowly.
It is important to select the optimal shooting interval according to the scene to be photographed.
Time-lapse photography allows the viewer to see everyday scenery from a new perspective by depicting the passage of time in a short period of time. By using this technique, familiar scenery can be transformed into a fresh visual experience, and you can create images that beautifully capture the passage of time.
From preparation to filming and editing, we will take you step by step through the process. Then, reflect your own point of view in your footage and create your own unique time-lapse video.
In this way, Team HENSHIN disseminates information on shooting video, video editing, and special editing such as CG and VFX.
Please take a look at our other articles as well, as we provide detailed information on specialized techniques.
We also welcome your requests regarding filming and editing, so please feel free to contact us through our contact form.