[2024] The latest information on drone national certifications and licenses! We also show you how to get certified!
ryo
HENSHIN Labo

Some people who want to photograph underwater scenery and creatures may be thinking of using a GoPro to do so. However, underwater conditions are different from those on land in terms of color, brightness, and capturing movement.
Therefore, knowledge of the best settings and shooting methods for underwater photography will be necessary!
In this article, we will explain how to shoot underwater using GoPro.
Please refer to this article if you want to learn how to shoot underwater with GoPro again, whether you are going to shoot underwater or have failed at shooting in the past.
There are several points where underwater filming with a GoPro differs from filming on land.
Here we will explain the three main points to keep in mind.
It depends on the GoPro model, but most mainstream models today are waterproof to some degree.
The above models can take pictures without a waterproof case (housing) up to a depth of 10 meters if the battery door is securely closed.
When diving deeper or taking pictures for long periods of time, make sure to do so with a waterproof case.
Underwater, light is difficult to reach due to light refraction and other factors. As depth increases, red and orange colors are often lost, resulting in bluish images.
Correct color tones by adjusting white balance and using underwater lighting. Setting methods are described below.
When photographing in the ocean or a river, you will be greatly affected by floating debris and turbidity.
To give an example from the author, when shooting in the ocean after a typhoon had passed, the sand at the bottom of the sea was stirred up, and it was very muddy, making it impossible to shoot.
In such cases, you may not be able to shoot in the first place, even if you change the settings on your GoPro or adjust your equipment. It is a good idea to check the weather and typhoon conditions m when you go out to shoot.
If you want to capture more beautiful images, start by choosing an appropriate location, such as a clear ocean or underwater.
To shoot well underwater, it is important to select the appropriate peripheral equipment. To improve the quality and safety of your shots, we will explain how to choose the following peripherals.
When shooting underwater, it is essential that the GoPro unit be well protected. A waterproof case will protect the camera from water and shock.
As mentioned above, most current models can shoot at depths of about 10 meters without a waterproof case. However, for shooting at greater depths or in the ocean, a waterproof case is essential.
Since the case is made of transparent material, clear video and photos can be taken with the case in place.
A float is a kind of “float,” and when attached to a GoPro, even if you accidentally drop it, it will not sink into the water.
Instead of feeling the tension of having to hold the GoPro all the time, you can shoot with the float attached and feel safe without unnecessary stress.
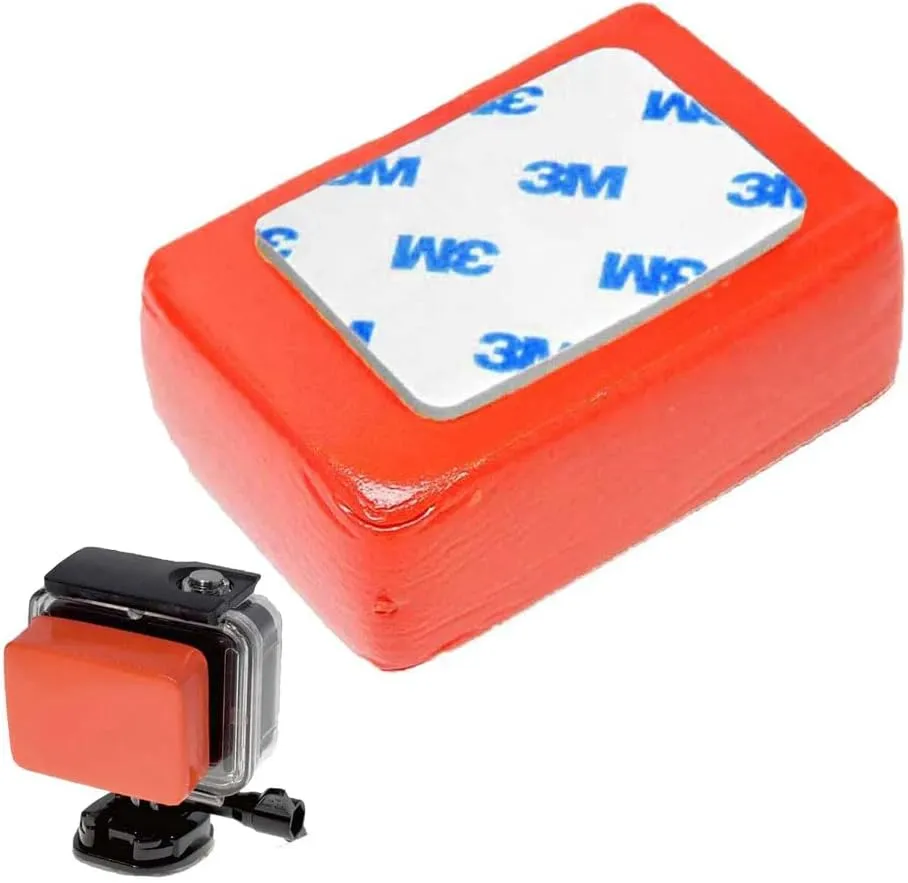
GLIDER Float bag for GoPro Float for waterproof housing with 3M double-sided tape
Attached to the GoPro with double-sided tape, this float floats even if dropped underwater. Reasonably priced and compatible with models other than GoPro.
When shooting underwater, camera lenses tend to fog up easily. This phenomenon is especially noticeable when shooting underwater or in cold weather, where temperature differences and humidity can cause the inside of the lens to fog up easily.
By inserting an anti-fogging lens cap inside the case, fogging is absorbed and clear vision and shooting can be maintained.
Many of them are reusable and can be dried after use and used over and over again.
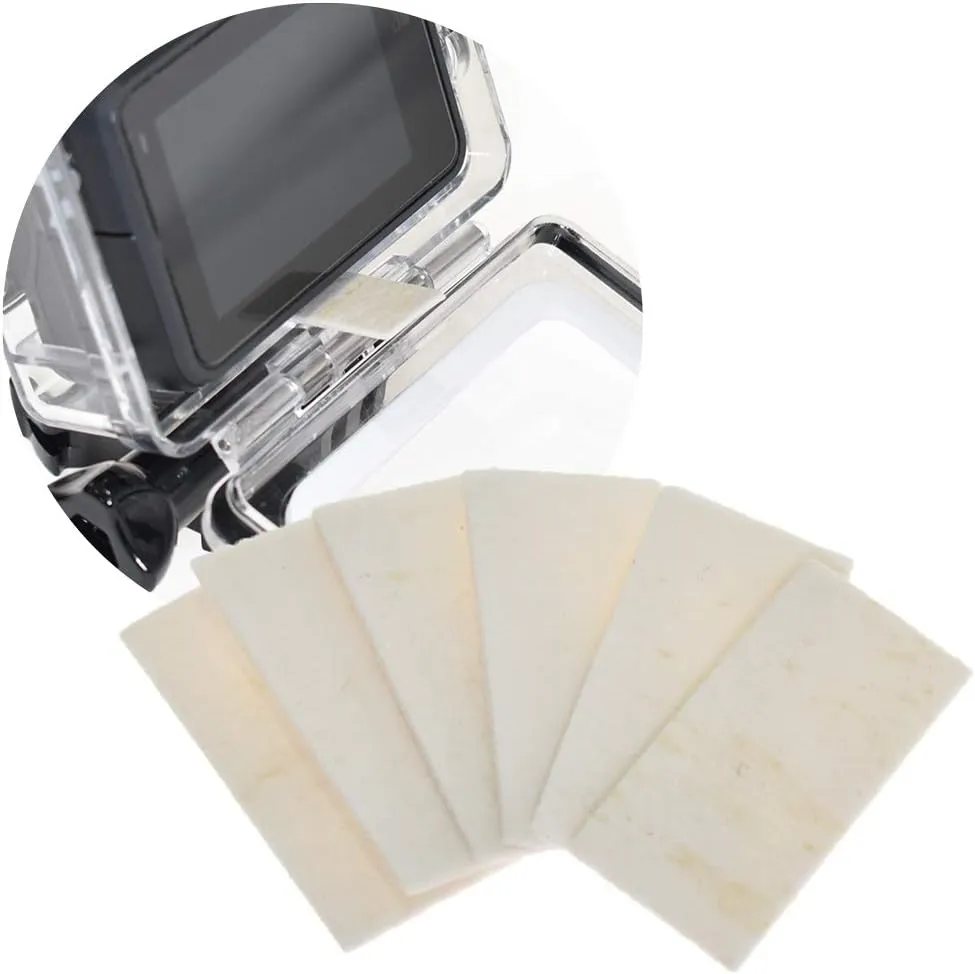
GLIDER GoPro Accessories Anti-Fog Anti-Fog Moisture Remover for Waterproof Housing
Anti-fogging device to be placed between the GoPro and the housing. 5 pieces per pack, 2-pack set. 1 piece per excursion, 2 pieces for longer shoots is a good rule of thumb.
It is also recommended to prepare a selfie stick that can be used both on land and water.
Especially underwater, the camera can easily become unstable due to water currents and wave action.
It is also a good idea to be particular about the material of the selfie stick. It will last longer if it is made of a material that is less susceptible to salt water (seawater) and pool chlorine.
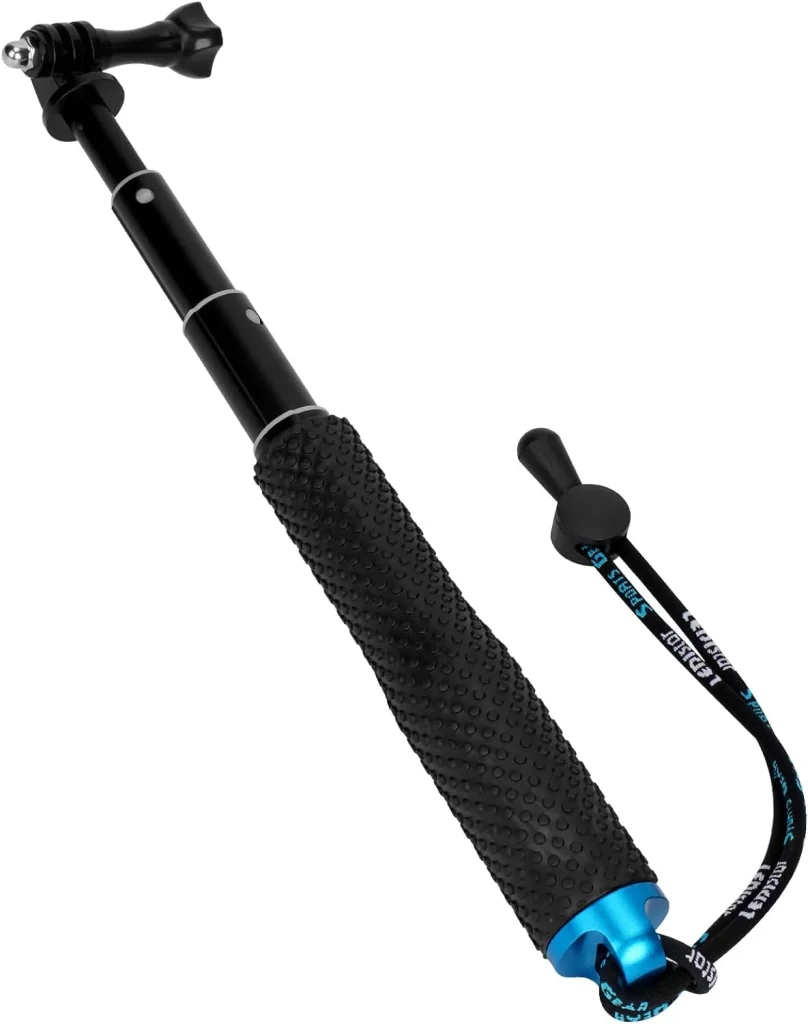
Foretoo Selfie Stick 19 inch
This selfie stick can be easily used by simply twisting it. It is waterproof and can be used underwater, and can be extended from 17.78cm to 48.26cm. It can be extended from 17.78cm to 48.26cm and comes with a strap for safe underwater use.
Filming underwater requires different techniques than filming on land. In particular, there are some unique points to consider when shooting with a GoPro while diving or snorkeling.
Here we will discuss some tips for underwater photography.
When shooting underwater, especially with an action camera like the GoPro, distance from the subject is very important.
Water transmits light less well than air, and the farther away the subject is, the poorer the colors and the harder it is to see details.
One trick you can put into practice right away is to shoot closer to your subject than you expect.
Underwater, this alone will produce crisp, colorful images and photographs.
With practice and experience, close-up photography will yield more beautiful images and photos.
Lighting is very important underwater because light is easily refracted and scattered. Here are some tips on lighting underwater.
The position of the sun changes the intensity and direction of light in the water. For example, at noon, when the sun is directly overhead, the light is stronger from directly below.
At this time, shooting from a slight angle allows for softer light.
Water surfaces have the property of reflecting light. When shooting near the surface of the water, the light reflected from the water surface can be used to brightly illuminate the subject.
In particular, when shooting in the surfaced ocean or pool, the pattern of light changes in accordance with the movement of the water surface, making it possible to capture beautiful images and photos with movement.
If only natural light is used, some parts of the subject will be too bright, or conversely, some scenes will be too dark.
Therefore, by intentionally creating shadows, you can create a three-dimensional effect on the subject or emphasize certain parts of the subject.
In this way, when utilizing natural light, you can adjust the angle and position of the camera according to the shooting situation and environment to capture the best light conditions.
Filming with a GoPro underwater is a different environment than on land.
Therefore, specific settings and operations are required, so it is important to understand GoPro settings in order to successfully shoot underwater.
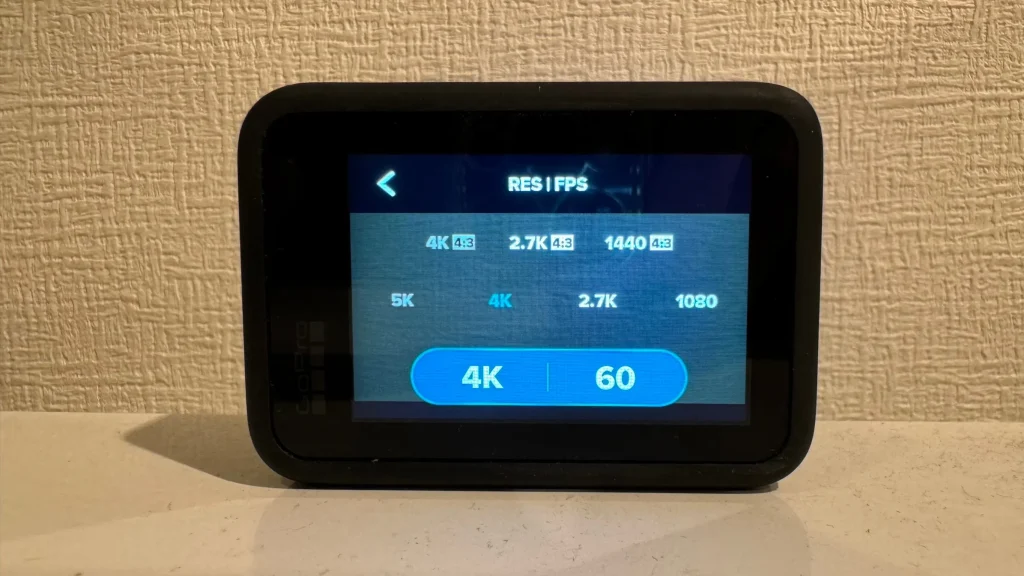
Generally, 1080p and 4K are considered high resolution. The higher the resolution, the more clearly the details of images and video are displayed, the more realistic the color gradations and textures are reproduced, and the higher the quality of the video and images can be enjoyed.
Depending on the video you shoot, 1080p may be sufficient for videos for casual posting on YouTube or SNS.
If you are planning to make a video work or edit it afterwards, it is a good idea to shoot in 4K or higher. However, the amount of space required will also increase, so care should be taken to ensure that the SD card has enough free space.
In addition, shooting at 4K or higher may cause the camera to freeze due to thermal runaway, so it is recommended to take measures such as reducing the frame rate to 1080p and turning off the power frequently.
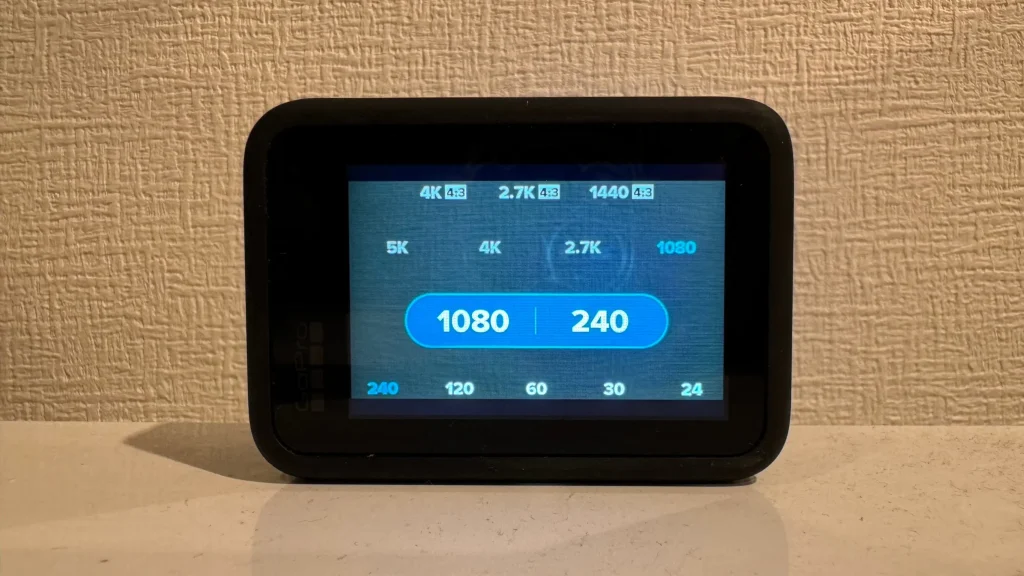
A movie is a combination of consecutive still images, and the frame rate is a setting for how many still images per second.
The higher the frame rate, the more still pictures per second, resulting in a smoother video. The following are commonly used frame rate settings.
If you want to shoot smoothly underwater, 60fps is a good choice.
However, if you want to capture creatures moving quickly underwater or phenomena unique to the water or underwater (splashes, bubbles, etc.) in more detailed images, you should shoot at a higher frame rate, 120fps or 240fps.
This is especially useful when editing to slow motion.
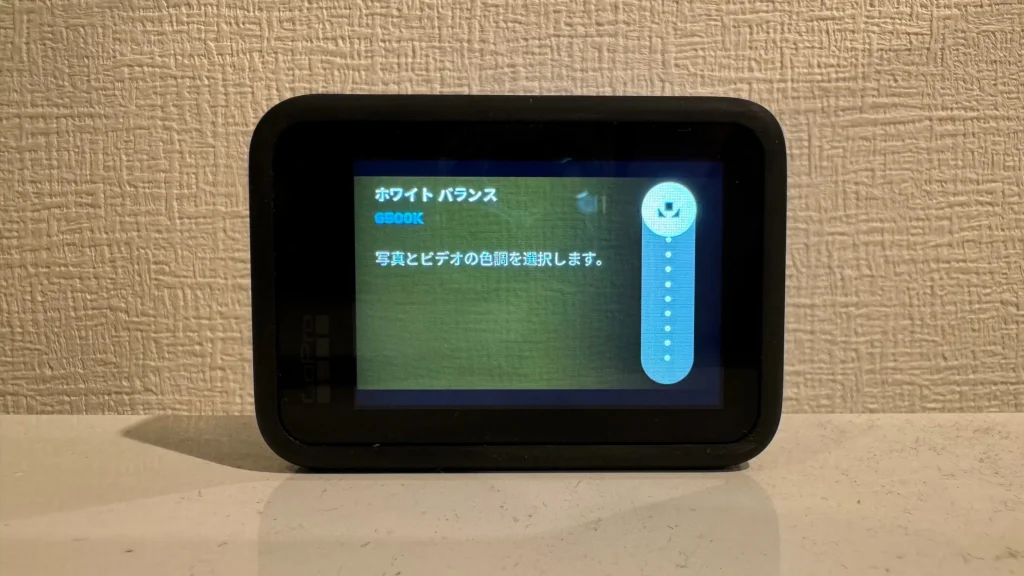
Underwater, blue and green tends to be emphasized. Therefore, adjust the white balance appropriately to achieve natural color reproduction.
When setting the white balance, it is a good idea to turn up the white balance to the maximum setting to make red colors stronger.
Also, as the depth of the water gets deeper, light will not reach the surface, so an automatic setting is also recommended. The deeper you dive, the darker it gets and the less you can see… This will prevent such an accident.
However, be aware that the colors will turn bluish.
If you set the white balance setting to auto and want to avoid bluish tones, consider installing a color filter that emphasizes red.
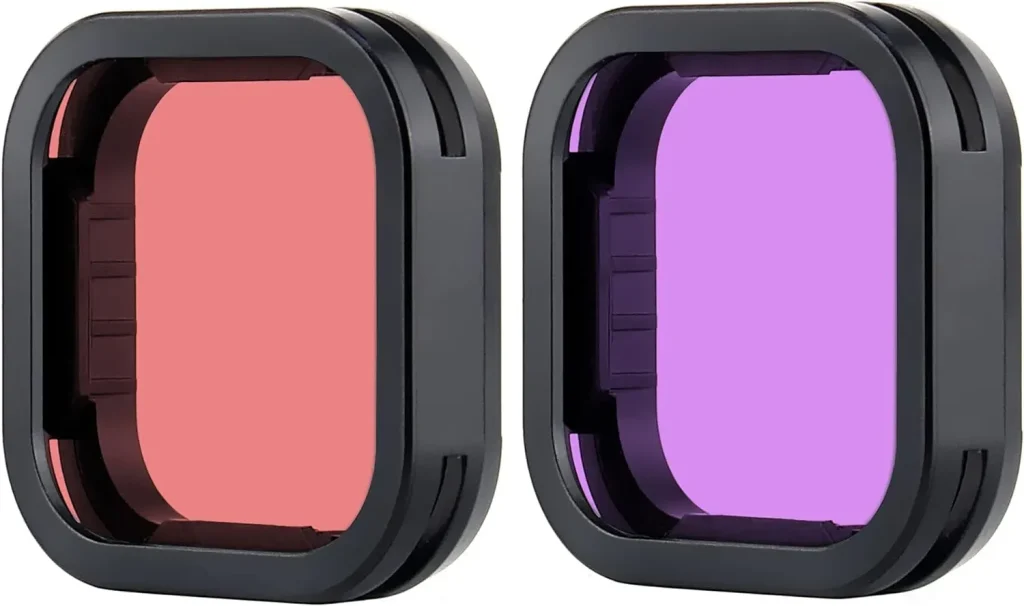
YALLSAME Dive Filter Black with Red and Magenta Filters
This color filter can be used with GoPro Hero 9/10/11. When used underwater, it can add a reddish tint, allowing for more natural underwater footage.
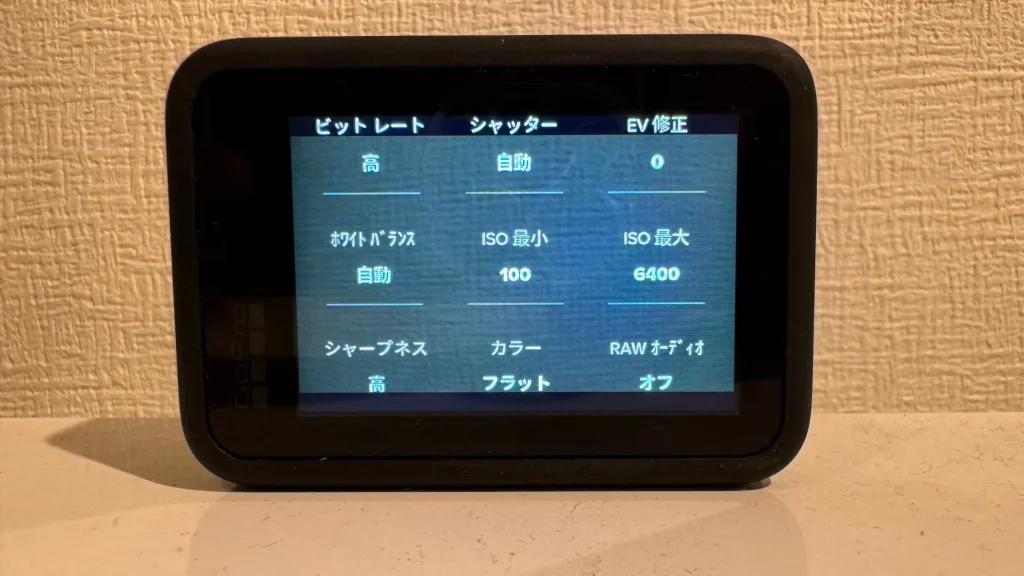
ISO adjusts the brightness of the camera. Since light transmission is reduced underwater, it tends to be darker than on the ground, so adjustment is essential.
As for ISO, the optimal value depends on the strength of the sunlight at the time, location, and depth of the water.
Before starting to shoot, it is a good idea to test and adjust the ISO by looking at the screen underwater.
If the ISO is set too high, noise is likely to be generated and the image quality will look poor. If the ISO is set too low, the image may be too dark to see, so it is recommended that you actually take a test shot before starting to shoot.
GoPro’s slow motion and time-lapse features are effective for highlighting beautiful underwater scenery and the movement of creatures.
Especially when you want to emphasize fast-moving creatures, underwater light movement, splashes, and bubbles, these functions are ideal for enhancing the realism and beauty of your footage.
Although it is not something that is done at the time of shooting, post-processing is essential to further enhance the quality of the captured underwater images.
Therefore, it is essential to shoot with the use of editing software (color correction and image balance adjustment) in mind.
This kind of advance preparation is not only for improving the quality of the finished video.
Thinking in advance about how the video will be composed and how the subject matter and material will be handled will also help minimize the time and effort required for editing.
The author has an experience of using a GoPro in the sea. At the time, I was using a GoPro without a waterproof case. I made sure the battery door was securely closed to prevent flooding before diving into the ocean.
Although I was able to shoot without any problems for the first 10 minutes or so, it soon went haywire.
It froze and stopped working. In my haste, I dropped it into the sea. Although I was able to dive right away and prevent the loss of the camera, if I had made a mistake, it would have been completely lost to the sea.
The SD card was safe, and I was glad to see that I still had the data I had taken before the camera froze.
After that, I contacted support and asked them to repair the camera. In this case, the replacement was a new GoPro.
I have a GoPro support subscription, and when I told them about this situation, they replaced it with a new one for free.
So, the following is some advice from the author who has actually experienced the pain.
We hope you find this information useful.
Diving and snorkeling are full of attractions that can only be experienced at that moment and place.
Capture those special moments with a GoPro and keep them as precious memories. To do so, be sure to keep in mind the tips for enjoying all aspects of underwater photography, including the shooting techniques, settings, and editing tips introduced here.
Team HENSHIN can shoot high quality images by professional photographers. We are happy to help you with any requests for filming, as well as with advice on this GoPro shoot, or any other trivial matter. Please feel free to contact us if you have any questions or concerns about underwater photography.